Question: I have followed all the instructions on how to archive and save Mac Mail folders/emails and have saved one folder to my USB to test it out. When I plug the USB drive into the PC and run the software, it says it can’t find any files ending in .mbox or .mbx even though I can see folders ending with that suffix. Can you tell me what the problem is? What if my Mac Mail application does not have an option to Archive Mailbox? What should I do if my Mac OS X Mail application do not allow me to archive mailboxes?
Answer: Right click to the Mac Mail folder containing emails and use the “Export Mailbox…” option to save it into mailbox file. Do the same for other folders to archive them then use the main program guide.
If you use Apple Mail or Mac Mail with macOS 10.10/Yosemite or older, you’ll have to update your email settings. Learn more about the security upgrade. If your OS is affected, be sure to create a secure mail key to set up or update your email. If your Mac runs on OS 10.11/El Capitan or above, you won’t need one. Included in the Mac operating system. Supports smart folders and robust filters. Amid a slew of announcements today, Dropbox dropped one that’ll be of particular interest to Mac users: Mailbox, the acclaimed email client for iOS, is coming to the Mac.Mailbox for OS X is in. Mailbox for Mac. Mailbox for Mac. Free Zentertain Ltd. Mac/OS X 10.6 Version 1.0 Full Specs. Visit Site External Download Site. Clicking on the Download Now (Visit Site) button above will. Install the updates to your mail client, to patch it up for work with latest version of Mac OS. Mail app in macOS Mojave offers new features for sending, receiving, and viewing email messages.

Please don’t read below if the Export function is available and you may use it.
If the “Export Mailbox…” option is not available (older Mac Mail versions) you may need to find the folder containing the source mailboxes. Older Mac Mail versions store emails in *.emlx files and don’t allow to pack them into mailbox format. So you have nothing to do with email archiving option. You have to find the proper mailbox location and use the “Mailboxes” folder for the further conversion.
Note: Mac Mail may create several similar folders but the proper one is that which stores files with *.emlx extension. The message store location depending on Mac Mail application version and edition.
How to Find and Open the Folder Where Mac Mail Stores Emails
Do the following to find and open the folder where Mac OS X Mail v2, v3, v4 and above keeps your messages:
- Open a new Finder window
- Go to your home directory using the Home toolbar button or select Go | Home from the main menu
- Open the Library/Mail/Mailboxes directory
This will open up the correct directory where your Mac Mail stores emails. Usually this directory is called Mail and contains multiple sub-folders named the same way as your email accounts. POP accounts and IMAP accounts are named with prefix POP- and IMAP- respectively. Each account folder contains multiple sub-folders for your Mac Mail folders such as Inbox, Sent Items etc.
The folder called Mailboxes is the main storage for your emails. You should copy this folder including all subfolders and files inside to the Windows PC and use it as the Source Folder for the Mac Mail to Outlook Converter.
Take the following steps to open the folder where Mac OS X Mail v1 keeps your messages:
- Open Mac OS Finder application
- From the main menu select “Go” item
- Choose “Go to Folder…” menu item (You can also press Command-Shift-G).
- Type in “~/Library/Mail/V2” (for Mac OS X Mail 5-8)
or “~/Library/Mail/V3” (for Mac OS X Mail)
This indicating the location of the lication of the Mac Mail v1.0 mailbox. You have to use this folder as the source for the conversion.
Add an email account
Smart Mailbox Mac Os X
If you haven't already set up an email account in Mail, you might be prompted to add one when you open the app. If you're not prompted, or you just want to add another account, follow these steps:
- From the menu bar in Mail, choose Mail > Add Account.
- Select your email provider from the list, then click Continue.
- Some accounts, such as Google, might ask that you click Open Browser to complete authentication in your web browser.
- Follow the onscreen instructions to enter account details, such as your name, email address, and password. If you're not sure what information to enter, please contact your email provider for help.
Use the Inbox for each account
The Inbox gathers together the messages for every email account you added. If you added more than one account, you can click the disclosure triangle next to Inbox in the sidebar, then select a mailbox to see only the messages for that account.
Optional: Turn on other account features
Mac Os X Version History
If your account includes support for contacts, calendars, notes, or other features in addition to email, you can turn those features on or off:
The Zebra LP2442 thermal label printer made for thermal printing inventory and shipping labels.The LP-2442 label printer gives you rock solid performance with serial and parallel port thermal shipping label printing that uses no ink! The LP 2442 printer is prints up to 3 inch/second (3 ips) great resolution. It is made with super-strong ABS plastic and is built to be operational and reliable. 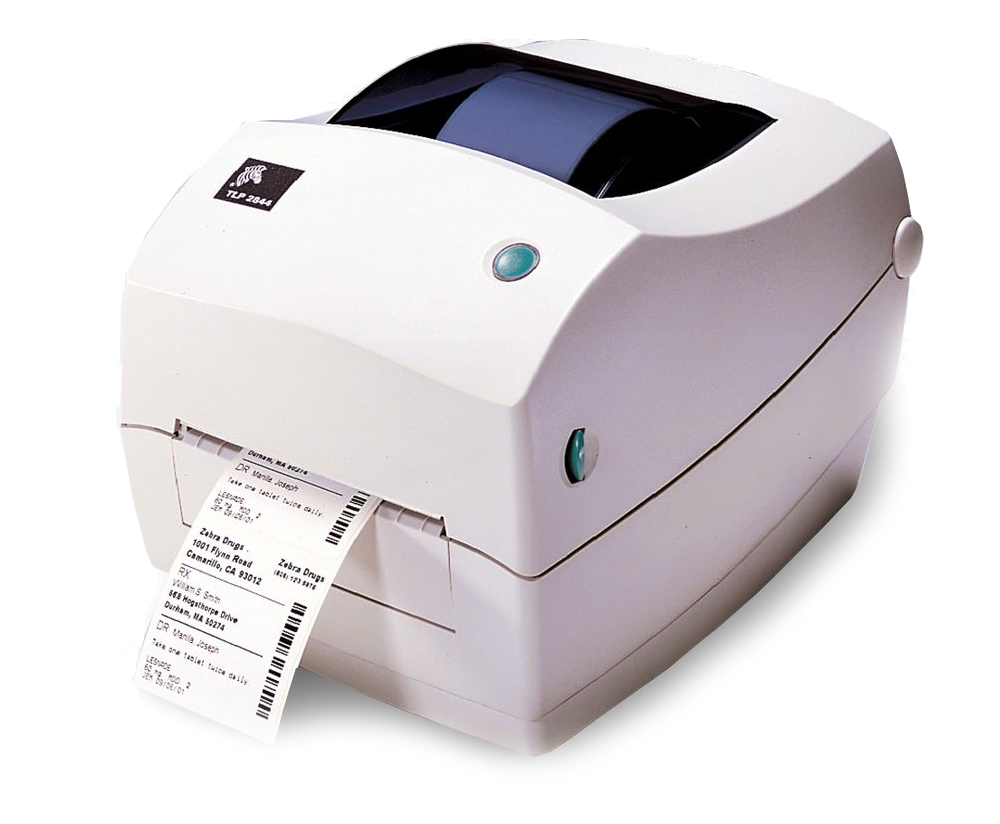 Eltron UPS 2442 Windows printer drivers by Seagull Scientific make it easy to print labels, cards and more from any Windows program, including our BarTender software. Eltron UPS 2442 Supported Features. The Eltron UPS 2442 supports the features below. Use true Windows printer Drivers by Seagull™ to use your Eltron UPS 2442 printer with any. The driver can be installed after you have completed the installation of the WorldShip program. Select the link below to learn more. For UPS Internet Shipping Users. Install a Thermal Label Printer Driver in UPS OnLine WorldShip Help, then choose Display. From the UPS OnLine WorldShip Shipping Window: On the menu bar, selectTools,System Preferences then the Printing Setup tab. ChooseLabel Printer Setup, then choose Change Label Printer. From the pull-down menu, selectUPS Thermal 2442/2543, then choose OK. MAC Thermal Printer Installation. Connect your Thermal Printer to your MAC using the USB cable Turn on the Thermal Printer so the light on top is a steady green; Download the UPS Thermal Printer Installation package from this link; Double click the UPS Thermal Printing-3.0.0.dmg package Drag the UPS Thermal Printing.app into the Applications folder.
Restore Mailbox Mac Os X
- Choose Apple menu > System Preferences, then click Internet Accounts.
- Select your account in the sidebar.
- Select the features you want to use with your account.
